-
iTop Easy Desktop - No.1 Desktop Organizer for Windows
-
Automatically organize and customize Windows desktop. Make your messy desktop look clean and professional within seconds.

Windows 11 Dark Mode | Everything You Need to Know
How to enable Windows 11 dark mode? Explore 3 useful methods with simple steps, plus an alternative way for quick access to dark mode on Windows 11.
Today, we spend countless hours on computers for work and daily tasks, which can easily strain our eyes. Dark mode has become a popular interface setting; it not only refreshes the visual appearance but also helps to reduce eye fatigue. For PC users, Windows 11 includes its own dark mode, which allows you to customize your desktop colors for a more comfortable viewing experience. But what exactly is Windows 11 dark mode, and how to enable Windows 11 dark mode? Read on, and you can find everything you need to know!

Windows 11 dark mode is a theme that switches the interface to darker colors like black and gray. Beyond aesthetics, the feature offers practical advantages for daily experience.
It provides a modern appearance that is appealing to users who prefer a sleek design.
Dark mode Windows 11 minimizes eye strain by lowering contrast and blue light, which is ideal for extended screen time.
It improves visibility in dim settings, which prevents glare and makes content easier to read.
On OLED displays, the dark mode consumes less power, which can extend the device's battery life.
Windows 11 dark mode also reduces distractions from bright elements. So users can concentrate better on tasks.
As you can see, Windows 11 dark mode comes with a variety of benefits. So, how to enable dark mode on Windows 11? It’s pretty straightforward with its native personalization options. Just check out the simple steps below.
Step 1. Right-click the Start icon on your taskbar and select "Settings" from the context menu. This opens the main configuration hub to personalize your system.
Step 2. In the Settings window, navigate to the "Personalization" section on the left sidebar, then click "Colors" in the main panel to access theme options.
Step 3. Under the "Choose your mode" dropdown, select "Dark". This immediately applies Windows 11 dark mode to the entire interface.

Step 4. For further customization, you can choose "Custom" mode to set the default Windows mode to dark while adjusting app modes separately. Optionally, you can enable or disable transparency effects in the same menu to match the theme you selected.

With the steps above, you can turn on your Windows 11 dark mode easily. So, is it possible to enable it without Windows activation? Absolutely. You can make it via the Registry Editor. This method modifies system settings directly, but it’s more complicated compared to the regular activation process. Let’s see how to change dark mode on Windows 11 in this way.
Step 1. Press Windows + R to open the Run dialog, type regedit, and press Enter. Click Yes if prompted by User Account Control.
Step 2. Find the Personalize Key. In the Registry Editor, go to: HKEY_CURRENT_USER\Software\Microsoft\Windows\CurrentVersion\Themes\Personalize. You can paste this path into the address bar for faster access.

Step 3. In the right pane, locate AppsUseLightTheme and SystemUsesLightTheme.
If they don't exist, right-click an empty area, select New > DWORD (32-bit) Value, and name them accordingly. Double-click each value and set the Value data to 0 to enable dark mode.

Step 4. Exit the Registry Editor after setting. Dark mode should take effect immediately. If not, restart your computer or sign out and sign back in.
Aside from the dark mode theme, Windows 11 lets you improve nighttime viewing by scheduling Night Light, a built-in feature that reduces blue light and applies warmer screen tones. While Night Light doesn't automatically switch system themes, it works with Windows 11 dark mode to make late-night screen use more comfortable. With the feature scheduled. Your display will adjust colors based on time, which is great for reducing eye strain in low-light environments. Just follow these steps for scheduling.
Step 1. Press Windows + I to open Settings, then go to System > Display.
Step 2. Scroll to Brightness & color, find Night light, and click it to expand the settings. Toggle Night Light on if it’s disabled.

Step 3. Use the slider to set your preferred color temperature. Then enable Schedule night light and choose Sunset to sunrise or Set hours for manual timing.

Step 4. If you select Set hours, define when Night light turns on and off (for example, from 8:00 PM to 7:00 AM). Your screen will now automatically shift to warmer tones during those hours.
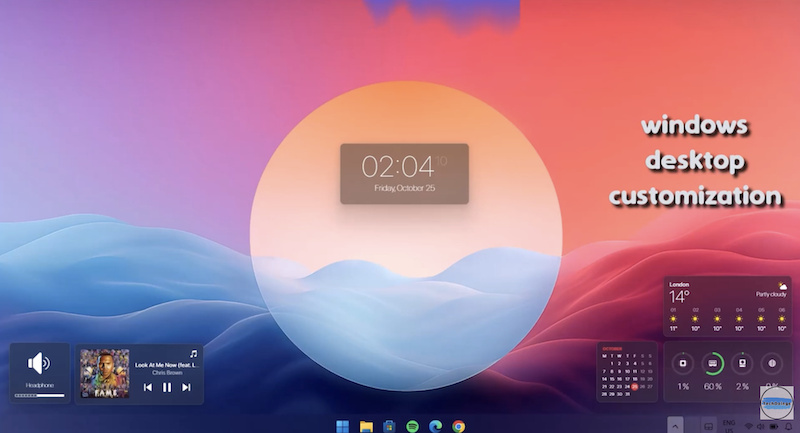
Now you should know how to make Windows 11 dark mode easily with the guides above. But if you want to have a more personalized and visually appealing Windows interface, a third-party desktop customization tool can offer much more flexibility. One great option is iTop Easy Desktop, a Windows desktop organizer program that can enhance productivity and appearance at the same time.

- iTop Easy Desktop - Make Your Desktop Look Amazing
-
- Control desktop taskbar to better fit your workflow
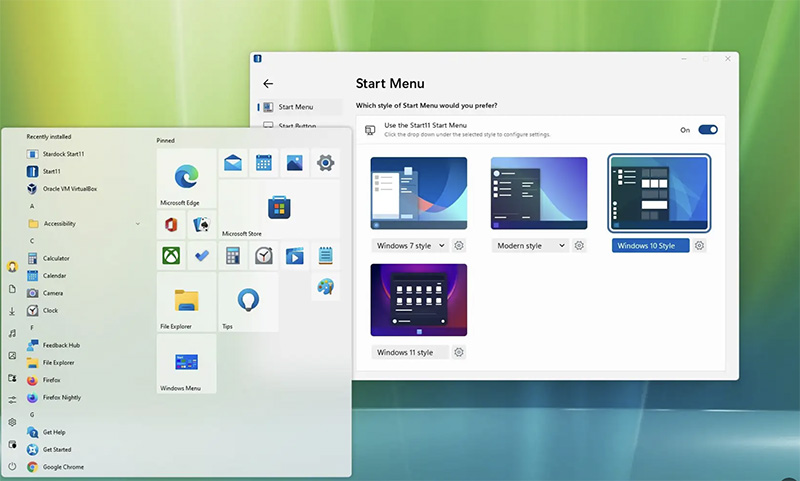
- Change the look of start menu for your preference
- Choose from themes to make consistent interface
- Enjoy personalized desktop icons and mouse cursors
iTop Easy Desktop features a built-in Personalization module, which allows you to switch between dark and light themes effortlessly. That’s not just it. The software allows you to customize taskbar, start menu, desktop icons, cursor, and overall layout to match a dark-mode aesthetic better.
How to enable dark mode Windows 11 with iTop Easy Desktop
Step 1. Visit the official website and download iTop Easy Desktop. The software is free and compatible with both Windows 11 and Windows 10.
Step 2. Open iTop Easy Desktop after installation. Go to the Personalization > Theme.

Step 3. Choose your preferred theme here. For instance, City Dark.

Step 3. Apply the theme, and your Windows interface will be refreshed soon.

Aside from Windows 11 dark mode, iTop Easy Desktop provides a comprehensive set of features designed to make your desktop more visually appealing and more productive. Just check them out.
Organize desktop icons in a click: With one click, iTop Easy Desktop automatically organizes desktop icons into customizable boxes, for instance, apps, folders, shortcuts, etc. You can also personalize box styles and layouts to match your Windows 11 dark mode for a more visually unified desktop experience.
Choose from fantastic static and live wallpapers: iTop Easy Desktop offers access to over 20,000 4K wallpapers for PC, watermark-free static and live backgrounds included. With just one click, you can instantly refresh your desktop’s look, enhance visual appeal, and create a more immersive workspace!
Make your own live wallpaper for desktop: Aside from built-in wallpapers, the software lets you create custom live wallpapers using personal videos or images. You can design your exclusive background instantly with one click wallpaper creation or upload your own video to make your desktop truly unique.
Add useful widgets on desktop to boost productivity: Feel free to add widgets like iNotes, calendar scheduling, weather updates, clocks, and iPomodoro to manage tasks efficiently. These tools provide quick access to essential functions, reduce distractions, and help maintain a focused workflow.
Conclusion
Windows 11 dark mode is both a functional and aesthetic color setting that enhances the system interface while reducing eye strain. So, how to turn on dark mode on Windows 11? This guide offers multiple methods you can follow step by step. While the built-in settings work well, users who seek deeper personalization will find iTop Easy Desktop a great solution. It delivers customizable dark themes, desktop organization, and visual enhancements such as static and live wallpapers. Combined with useful productivity widgets, the software delivers an enhanced desktop experience for sure. Try iTop Easy Desktop for free to create a truly personalized Windows 11 workspace now!

- iTop Easy Desktop
Next-Gen Desktop Customizer -
- 1-click organize 100+ icons
- 5000+ 4K and live wallpapers
- Interact with AI desktop pet
- Related Articles for Reference