-
iTop Easy Desktop - No.1 Desktop Organizer for Windows
-
Automatically organize and customize Windows desktop. Make your messy desktop look clean and professional within seconds.

How to Organize Emails on Outlook/Gmail: Full Guide & Tips
How to organize emails? Check out the most effective methods for Outlook and Gmail, as well as a solid tool to organize your desktop and improve productivity.
Digital clutter is everywhere, from your folders to your desktop and mailbox. Whether for personal or business use, a cluttered inbox can slow you down and ruin your productivity completely. You might find your important messages got buried under spam and promotional ads, which is truly frustrating.

So, how to organize emails? It can be easy once you have the right methods, and this guide offers what you need. Just follow along to see how to organize email efficiently on Outlook and Gmail. There’s also a bonus tool that can help you declutter your desktop and boost productivity!
Organizing your inbox can help you maintain efficiency in today’s fast-paced digital world. Here are some of the biggest benefits:
Improves Productivity: A well-structured inbox helps you quickly locate important messages, reducing time spent searching. You can stay focused on tasks that truly matter.
Prevents Missed or Delayed Responses: All mailboxes allow you to label and categorize emails. This makes sure essential communications never slip through without notice.
Supports Better Workflow Integration: Today, your inbox is seamlessly integrated with other tools (calendars, reminders, and even task managers), which is great for streamlining workflow.
Saves Storage Space: If you regularly archive or delete emails, you can prevent your account from hitting space limits and keep your email platform running efficiently.
Now you might be wondering: How to organize your emails easily? It’s not that difficult. Just read on to find email organization tips for Gmail and Outlook.
Microsoft Outlook is the most often used mailbox, which also offers robust features for email management. Let’s check out some of the best ways to organize emails on Outlook now.
1. How to use flags and focused Inbox
First of all, you can use flags and the focused inbox to mark messages and important conversations.
Step 1: Launch Outlook and head to your main inbox view.
Step 2: Go to View > View Settings > Email > Layout > Focused Inbox. Select the Sort messages into Focus inbox and others. Now Outlook will automatically divide your inbox into Focused and Other.

Step 3: To flag an email for follow-up, just click on the email to flag it. You can also right click on it to assign a due date.

2. How to create and organize Outlook folders
With folders, you can categorize emails manually based on your habits. Here’s how to organize emails into folders on Outlook.
Step 1: Look at the Folder Pane on the left side of Outlook. Right-click your email name to create a new folder.

Step 2: Type the folder name, for instance, Projects, Work, Receipts, or anything.

Step 3: Open a message and choose Move to on top, and transfer it to the folder you just created.

Step 4: You can also right-click any folder to create subfolders to break down categories into smaller groups.
3. How to set rules to auto-organize incoming emails
Meanwhile, you can make Outlook automatically sort messages based on rules. Let’s check out how to organize emails using this feature.
Step 1. Click the gear icon in the top-right corner to open Settings, then select Mail > Rules. In the Rules panel, click Add new rule and enter a name, for instance, “Move Newsletters to Folder” to identify it easily later.

Step 2. Add conditions to determine which emails the rule will target. Click Add a condition and choose from options. For instance, from (specific sender), Subject includes (keywords), etc.

Step 3. Choose what Outlook should do with emails that match the conditions. Click Add an action and select from the options like Mark as Junk, Delete, etc. If there are messages you want to exclude, click Add an exception and choose the criteria.

Step 4. Enable “Stop processing more rules” if this rule should take priority over others. Choose “Run this rule now” if you want it applied to your current inbox.
That’s how to organize emails on Outlook. Now you should be able to stay organized and manage Outlook emails more efficiently with less stress!
While Outlook allows you to organize emails natively, Gmail is the same. In this part, let’s see how to organize emails on Gmail in simple steps.
1. How to use labels and filters
With Gmail’s labels and filters, you can categorize emails automatically for new messages as they arrive.
Step 1. Open an email, click the three dots menu, and select “Filter messages like these.”

Step 2. Set your filter conditions, like filtering by sender, keywords, or subject. Then click “Create filter.”

Step 3. For labels, choose an email and click the 3-dot icon at the top. Choose from your existing labels or create a new one.

2. How to star and pin important emails
You can star and pin important emails for easy navigation. Here’s how to organize emails using this feature.
Step 1. Click the star icon next to any email to mark it as important.

Step 2. Go to Settings > Inbox > Inbox type, and select Starred first. This will organize your inbox with all starred emails at the top, followed by all other emails.

Step 3. This setting effectively pins starred emails by displaying them at the top of your inbox.

3. How to unsubscribe and clean up
Want to reduce spam? Check out how to clean up your mailbox easily.
Step 1. Open an email you don’t want to receive in the future and click “Unsubscribe” beside the sender’s name. Confirm the action.

Step 2. Search “unsubscribe,” and Gmail will show you a list of emails containing the word "unsubscribe." You can then open each one to unsubscribe. Some emails require you to unsubscribe from the provided links(usually at the bottom).

Step 3. For bulk clean-up, search for the emails you want to delete from one sender. Then select all results using the top checkbox, and delete them with the Trash icon.

The previous parts have illustrated how to organize emails on Outlook and Gmail. But that’s not all. To fully optimize your productivity, remember to build these habits into your daily workflow.
Clear Out the Clutter with an Inbox Cleanup: Make time weekly to archive, delete, or categorize old emails. So you can have a cleaner inbox and reduce overwhelm.
Unsubscribe from Irrelevant Emails: Remove yourself from newsletters and offers you don’t read. This can largely reduce the incoming volume of messages.
Separate Work and Personal Emails: How to organize work emails and separate them from personal ones? You can use different accounts or filters to avoid mixing unrelated messages.
Schedule Regular Time for Inbox Maintenance: Spend a few minutes every day to organize new emails, which can prevent inbox buildup and keep your system running smoothly.
Use Folders and Labels to Simplify Sorting: Labels and folders make clear categories. Use them to file messages for easy navigation.
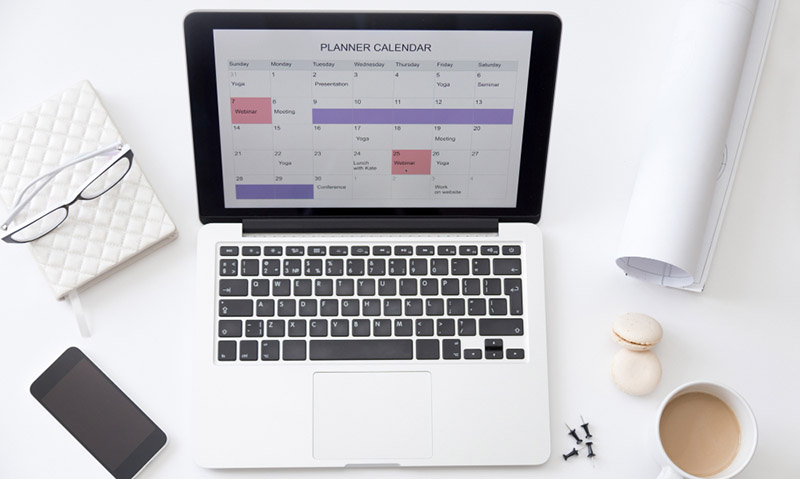
While email organization is necessary, don’t forget your desktop environment. It’s crucial to maintain an organized screen for enhanced productivity. Let’s see how to optimize it with the best desktop organizer for Windows.
A tidy inbox can improve your focus, and the same goes for a clean desktop. That’s why you also need to organize desktop to maintain a productive workspace. Since manual sorting can be time-consuming, a third-party tool can significantly boost efficiency, and iTop Easy Desktop is the perfect solution to get the job done!

- iTop Easy Desktop - Keep Your Desktop Organized
-
- Box desktop icons to declutter your workspace
- Manage documents, games, media files, etc., at 1 click
- Add calendar, clock and other widgets to desktop
- Locate any file you want instantly with search box
With this best free Windows desktop organizer, you can easily declutter your screen in seconds. It automatically sorts your icons into neat, customizable boxes. So you can keep track of apps, folders, and files much more easily than ever.
Let’s see its smart features and how to organize desktop with it.
Step 1. Free download this lightweight iTop Easy Desktop and install it on your device.
Step 2. Head to the Box tab, and switch on Enable Boxes. Click on the Quick Start to sort the files/folders/shortcuts on your desktop automatically.

Step 3. You can set your own rule by going to Boxes > Organization. Click the Plus icon to add the file type for boxes.

Step 4. You can also enable widgets for efficiency. For instance, go to Widgets and enable the iPomodoro clock for better focus.

Step 5. To better track your events, you can use the Schedule widgets. Just add events like how you do with your phone.

TIPS
How to add sticky notes to desktop for quick reminders and faster task managementWith iTop Easy Desktop, keeping your desktop organized is definitely effortless. Here’s what you can enjoy with the software.
Benefits of Using iTop Easy Desktop:
There is no need for manual dragging. It can automatically group icons into smart categories like Apps, Folders, or Downloads, saving you time and effort.
You can change box colors, transparency, corner style, fonts, and layout to create a workspace that matches your preferences.
Add a desktop calendar widget, Clock, Weather, Schedule, iNotes, or iPomodoro for quick access to essential information and productivity boosts.
Choose from dynamic video wallpapers, high-quality static images, or even upload your own visuals to personalize your desktop experience.
The Bottom Line
How to organize emails? This blog has covered the effective methods for Outlook and Gmail. You can surely keep your inbox efficient and clutter-free now. But don’t forget your desktop, your everyday workspace. Here, iTop Easy Desktop is an excellent choice to auto-sort desktop icons, personalize the layout, and boost productivity with built-in widgets. Download it today to enjoy a cleaner digital life now!
- iTop Easy Desktop - Keep Your Desktop Organized
-
- Box desktop icons to declutter your workspace
- Manage documents, games, media files, etc., at 1 click
- Add calendar, clock and other widgets to desktop
- Locate any file you want instantly with search box