-
iTop Easy Desktop - No.1 Desktop Organizer for Windows
-
Automatically organize and customize Windows desktop. Make your messy desktop look clean and professional within seconds.

3 Free Ways to Get Windows 10/11 Icon Packs: Desktop Customization Tips
Get Windows 10/11 icon packs free and safe. Learn 3 easy methods: all-in-one tools, manual install, or Microsoft’s built-in desktop settings.
Customizing your PC's look is easier than you think, and it all starts with changing a simple set of icons.
Tired of the same old folder and recycle bin icons on your Windows desktop? Windows icon packs are the answer for anyone seeking personalization. These are curated collections of custom icons designed to completely transform the visual style of your desktop, Start Menu, and File Explorer—offering everything from minimalist lines to futuristic designs.
However, downloading a random Windows 11 icons pack or Windows 10 icons pack from a search engine can be risky, potentially bundling malware or viruses with the files. This guide introduces three safe and free methods to acquire and apply icon packs. Whether you're a beginner looking for a one-click solution or an advanced user ready to dive deep, you'll find a suitable path to create a truly unique desktop.

The direct answer is: downloading Windows icon packs from unknown sources carries significant risk. Many free packs are hosted on third-party or ad-laden sites where download links may bundle adware, spyware, or viruses. More critically, installing third-party icon packs often requires replacing or modifying core system files. If this process is done incorrectly, it can lead to system instability, errors, or even necessitate a full reinstall.
Therefore, while personalization is fun, safety must come first. It's essential to source your resources from trusted channels and follow correct installation procedures.
If you prefer to search for resources yourself, use these specific keywords to find higher-quality packs:
Windows 11 icons pack download
Windows 10 icon pack zip download
7tsp icon packs (a popular icon pack format)
Best windows icon packs
To save you time, here are several recognized, resource-rich communities and websites:
1. DeviantArt: A massive creative community with a vast library of user-created free Windows icon packs. Many authors provide detailed previews and installation instructions.
2. ThemeForest: A marketplace mixing paid and free resources. You can filter to find high-quality free icon packs, which often have reliable standards.
3. VSThemes/WinCustomize: Dedicated Windows customization communities hosting tons of icons, themes, and skins.
4. GitHub: Some developers publish open-source, clean icon pack projects here, offering the highest security assurance.
5. Crucial Tip: Even when downloading from these sites, always check user comments and ratings, and scan the downloaded files with your antivirus software.
If the manual process of downloading, verifying, and installing files from the above sites seems too complex, or if you still have security concerns, the all-in-one tool introduced next is your perfect solution. Once you've applied your new icon pack, you might also want to learn how to organize desktop icons to keep your freshly customized desktop clean and tidy.
Instead of searching, verifying, and manually installing icon packs piecemeal, consider an integrated professional desktop customization tool. We recommend iTop Easy Desktop for all users who want a safe and simple way to beautify their PC. This free software is not only a powerful theme manager but also an excellent desktop organizer for Windows, helping you keep files and folders neatly arranged. It provides a comprehensive Windows personalization hub, allowing you to apply various visual themes—which include complete Windows 11 icons pack—without touching any complex system files.
Key personalization options in iTop Easy Desktop include:
Theme: One-click switching of complete themes including wallpaper, color scheme, sounds, and icon packs.
Mouse: Change the style and color of your mouse cursor.
Start Menu: Customize the transparency and color of the Start Menu.
Taskbar: Adjust the appearance and position of the taskbar.
Virtual Pets: Add cute interactive pets to your desktop for fun.
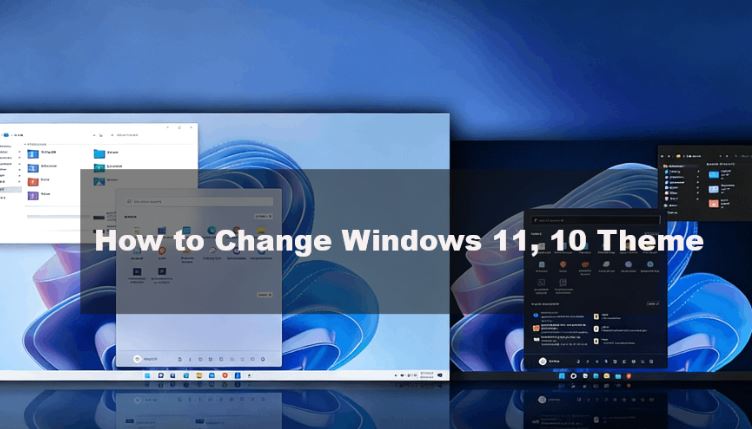
Tutorial: How to Set a New Theme with iTop Easy Desktop
Step 1. Download and install iTop Easy Desktop from its official website.
Step 2. Launch the software and navigate to the "Theme" library. Browse the extensive categorized themes to find a style you like (they typically include matching icons).

Step 3. Click on your chosen theme to preview it, then click the "Apply" button.

The software will handle all configurations automatically. Within seconds, your desktop wallpaper, color scheme, and icon packs will be completely refreshed—all safely and seamlessly.
For advanced users who enjoy DIY and seek specific icon pack styles, dedicated icon gallery websites like Vsthemes.org are valuable resources. These sites host vast libraries of designer-made packs, usually in .7tsp or .iconpack format. Using the site's "Beautyline" icon pack as an example, here is a general manual installation guide.
How to Set Up New Windows Icon Packs from Vsthemes.org?
Please note: This method involves modifying system files and is recommended for advanced users only. Before proceeding, it is strongly advised to create a system restore point for easy recovery if anything goes wrong.
Step 1. Download & Preparation: On the website page, find the download link to get the icon pack file (usually an archive). You will also need to download and install necessary tools like "7TSP GUI" or "IconPackager."
Step 2. Extract & Backup: Extract the downloaded archive to a dedicated folder. It's wise to back up the original system icons you intend to replace.

Step 3. Install via Tool: Run your icon pack installer tool (e.g., 7TSP). Click "Add a Custom Pack" and select your extracted icon pack folder. Carefully review the list of icons to be replaced before applying.

Step 4. Apply & Restart: Once confirmed, click "Start Patching" to begin installation. After completion, sign out or restart your computer as prompted for the new Windows icon packs to take effect.
If you prefer not to install any third-party software or modify system files, Windows itself offers basic icon customization features. This is the safest and most stable method. While the selection of icons is limited, it allows you to quickly change the look of key desktop icons.
Tutorial: Change Desktop Icons Using Microsoft's Official Method
Step 1. Right-click on an empty area of your desktop and select "Personalize."
Step 2. In the Settings window, click "Themes" on the left, then find and click "Desktop icon settings" under Related Settings. This is the same panel you would use when changing your Windows theme, as both icon customization and theme switching are part of the personalization settings.

Step 3. In the pop-up window, you'll see standard desktop icons like "Computer" and "Recycle Bin." Click the icon you wish to change, then click the "Change Icon" button.

Step 4. A built-in icon library window will appear. Select an alternative system icon from the list and click "OK." You can also click "Browse" to use a single .ico icon file you've downloaded. This method allows you to safely mix with basic desktop customization. For further adjustments, you can also fine-tune your display settings to match your new look.
This method allows you to safely achieve a basic desktop refresh. For more thorough management, consider using a professional desktop organization tool.
Conclusion
In summary, there are three main pathways to getting and using Windows icon packs: using an all-in-one tool like iTop Easy Desktop for the safest and easiest experience; downloading from specialized communities for manual installation suited to advanced users; and utilizing Windows' built-in features for the most stable, basic changes.
If you want a zero-risk, simplest way to get a complete desktop makeover—including beautiful icon packs—iTop Easy Desktop is undoubtedly the top choice. Download this Best Desktop Organizer and customization tool today and start crafting your dream desktop!

- iTop Easy Desktop - Keep Your Desktop Organized
-
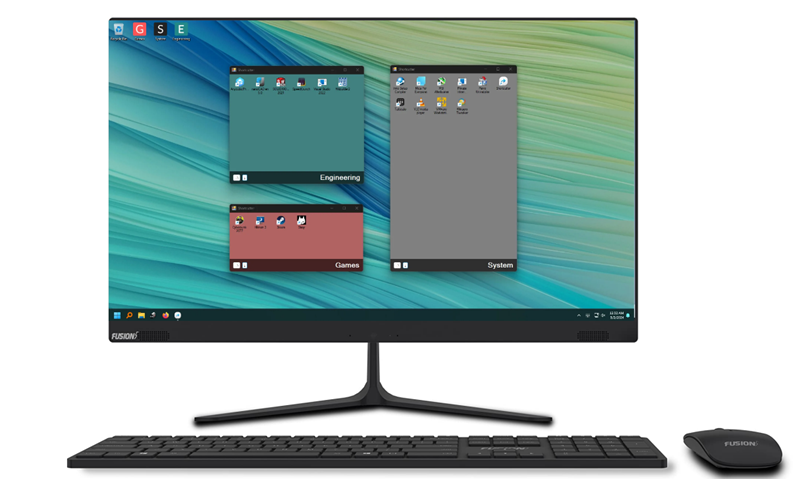
- Box desktop icons to declutter your workspace
- Manage documents, games, media files, etc., at 1 click
- Add calendar, clock and other widgets to desktop
- Locate any file you want instantly with search box